Install · First-time setup
First-time setup
Step ③ after download and install: finish what the first-run wizard asks for (keys, firmware, game folders). Follow the on-screen flow when you have it — this page is the same path in plain English.
This site does not host firmware or keys. Use dumps from hardware you own. Menu labels vary by build — see the emulator readme for detail.
In-app essentials
- Many builds open a first-run wizard — follow it when it appears; this page matches that order.
- The settings UI may be English-only on some tags; extra languages depend on the build you installed.
- The game list often exposes shortcuts (save / user data folder, mods, properties / configuration) per title without digging through nested menus — icons and labels vary by theme.
- Touch-friendly layouts or interface scaling may live under View / Interface-style menus. Confirm what your version exposes in the readme.
① Before first launch: portable user folder
For a clean wizard and to avoid mixing an old Citron profile, add an empty folder named user next to the emulator executable before you open the app. Skip only if you intentionally reuse an existing profile.
Windows install step 2 shows the layout (screenshot). Linux / AppImage: same idea — keep data beside the binary when you want a portable tree; verify paths from File if unsure.
② In Citron: keys → firmware → game library
These four checks match what most builds need before your game list fills in.
Open Citron. If the wizard starts, follow it; otherwise use File (or similar) to open user data and find the system folder.
Copy your legally obtained prod.keys and title.keys (exact names depend on your dump tool) into
system. If the UI still says keys are missing, continue to firmware or restart once — some builds glitch briefly. Many first-run flows ask for keys first, then firmware right after — compare your windows to the screenshot below.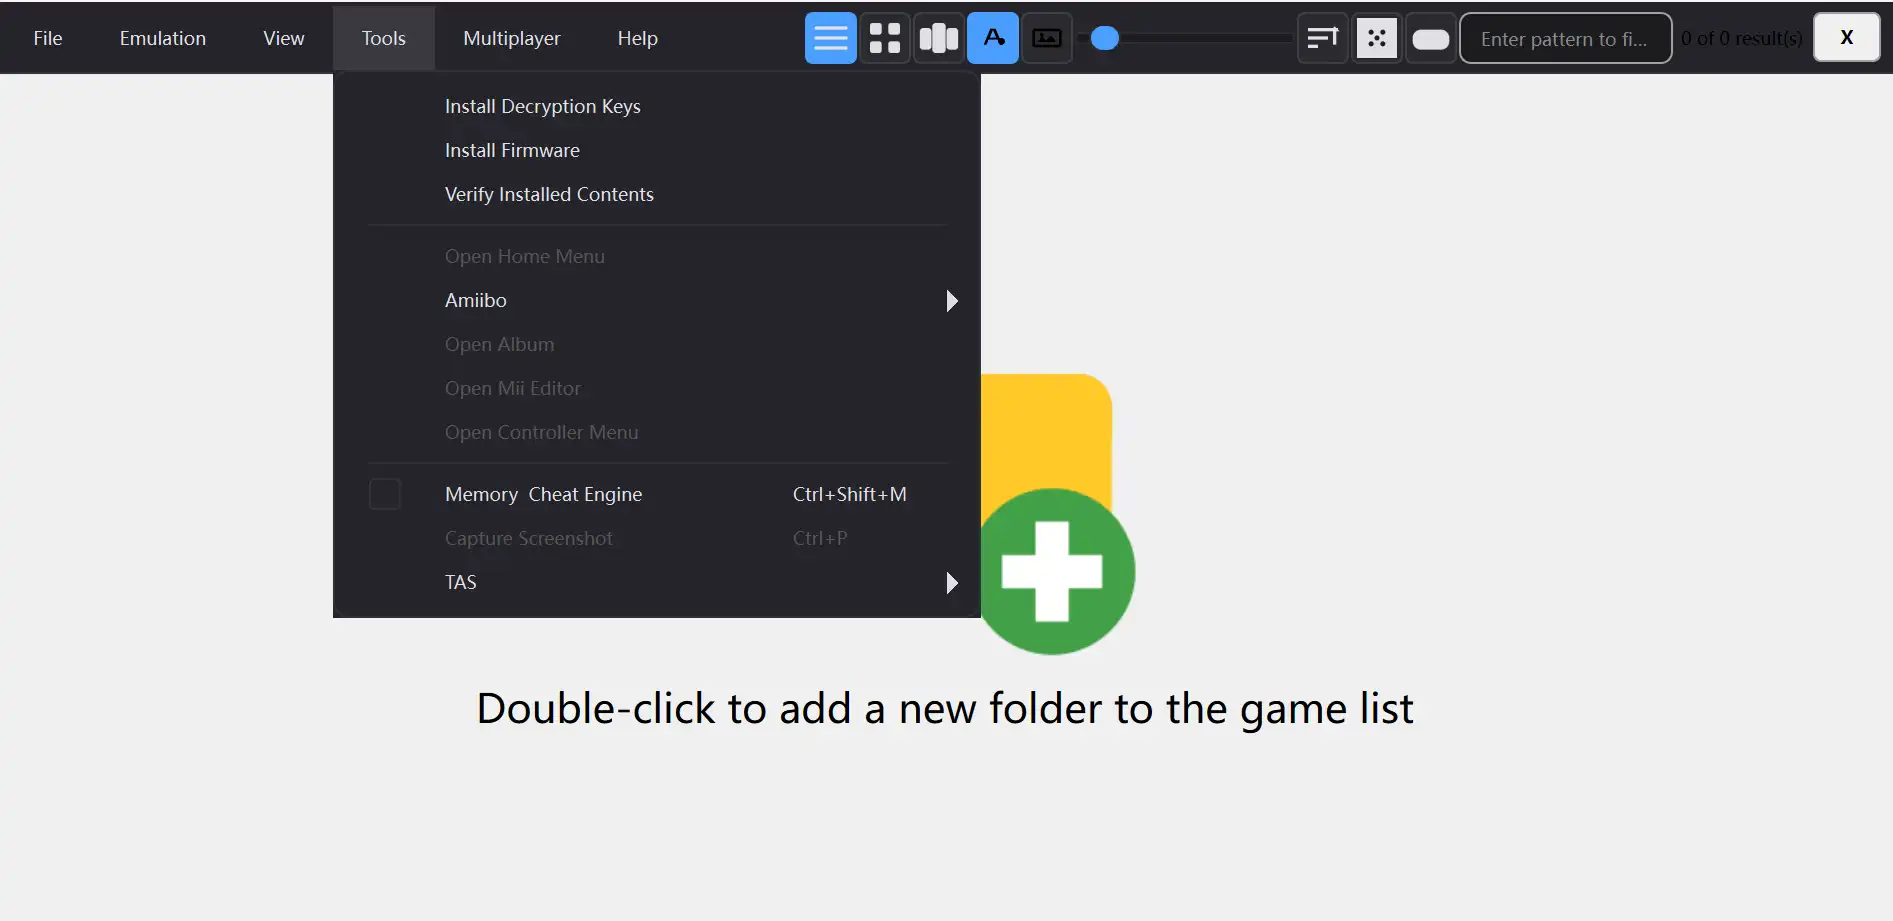
Example wizard layout for keys and firmware — labels and steps vary by build. Once keys are in place (or the wizard moves on), install firmware via the menu entry your build provides. Prefer a single .zip, or a folder if the dialog allows — firmware from hardware you own only. Restart if prompts persist after a successful install.
In Options → Settings, set Game directories to folders that contain your dumps (
.nsp,.xci, etc.) — content you are entitled to use. Apply / OK, then refresh or restart if the list is empty. Optional wizard steps (extra profiles, paths): finish those if offered, then pick a title from the library.
Advanced: updates, DLC, mods & GameBanana▾
You can often add folders for title updates or DLC in settings so Citron picks them up automatically. Labels differ by build — check the readme if you do not see it.
Some builds bundle a GameBanana browser under game properties: search, download, and install mods from there. Automatic unpack can fail when an archive uses an unexpected layout — use the option that opens the mod folder, then extract manually (right-click → extract here on Windows, etc.).
Manual installs usually need a folder named after the mod containing the correct romfs / exefs structure your build expects — mirror the examples in the readme. Close and reopen properties so the mod list refreshes.
Only install mods you have rights to use.
Linux: broken profile?
Prefer a portable user folder beside the binary with AppImage or extracted builds. If an old profile breaks startup: back it up, rename it, launch fresh — then repeat keys and firmware.
Steam Deck / SteamOS
Choosing x86_64 builds, AppImage permissions, Desktop Mode, and Add to Steam belong with Linux install (Steam Deck).
After Citron is running: if Game Mode dialogs are awkward to confirm, use Options → Settings where needed and the Steam on-screen keyboard.
③ After setup
Pick a game from the library. Crashes or boot issues → Troubleshoot. Compatibility shifts each release — read GitHub release notes for the build you installed.